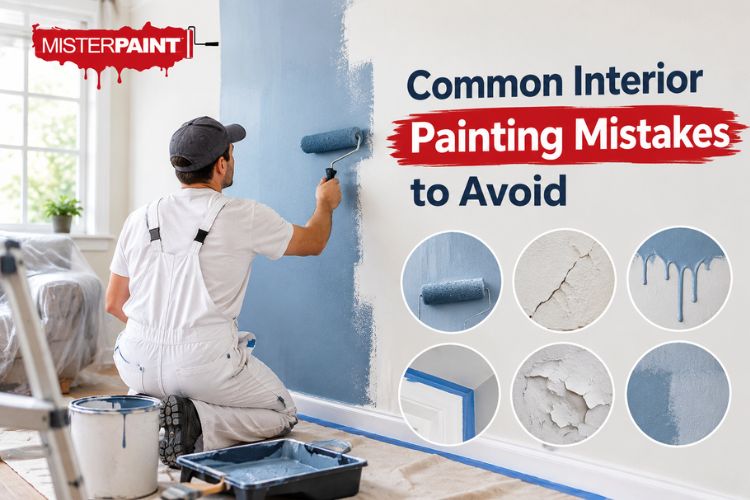

Common interior painting mistakes include skipping surface preparation, choosing the wrong paint or finish, applying uneven coats, and rushing the drying process. These mistakes can cause streaks, visible patches, peeling, and messy edges. Careful preparation, suitable materials, and following product instructions help homeowners achieve a smoother, longer-lasting finish.
Before starting a home refresh, make a plan for cleaning, repairing, priming where necessary, and protecting surrounding surfaces. A well-organized Interior Painting project starts with understanding the condition of the walls rather than simply choosing a new color.
Also Read: Clever Design Hacks to Make Your Studio Apartment Feel Less Cramped
1. Painting Over Dirty, Damp, or Damaged Walls
Paint may not adhere properly to dusty, greasy, or peeling surfaces. Dirt and surface defects can also remain visible after the new color is applied. Clean the walls with a suitable method, repair holes and cracks, remove loose material safely, and let the surface dry completely before proceeding.
Do not simply paint over water stains, persistent dampness, or suspected mold. Identify and address the underlying moisture problem first. Otherwise, the new finish may deteriorate again.
2. Skipping Repairs or Using Primer Incorrectly
Small nail holes, dents, and cracks can become more noticeable under fresh paint. Fill appropriate defects with a suitable repair compound, allow the repairs to dry, sand them smooth where appropriate, and remove dust before painting.
Primer can improve adhesion and help create a more uniform appearance, but a separate primer coat is not necessary in every situation. Bare drywall, repaired patches, stains, and major color changes may need specific preparation. Follow the requirements for your surface and paint product.
3. Choosing Paint Colors and Finishes Without Testing
A color can look different under daylight, warm indoor lighting, and cool artificial lighting. Buying paint based only on a small printed color sample can lead to disappointment.
Test a sample on the intended wall and observe it at different times of day. Also select the finish according to the room’s use, cleaning needs, and the condition of the surface. A finish that reflects more light may make wall imperfections easier to notice.
4. Using the Wrong Tools or Applying Too Much Paint
Unsuitable brushes and roller covers can leave lint, visible marks, or an inconsistent texture. Use tools designed for the paint and surface, and distribute paint evenly rather than overloading the brush or roller.
Work in manageable sections and maintain a wet edge by blending each section into the adjoining wet paint. This helps reduce visible lap marks. Avoid trying to cover the entire wall in one heavy coat; follow the product’s recommended coverage and recoat instructions.
5. Rushing Between Coats
Paint that feels dry to the touch may not be ready for another coat. Recoating too early can contribute to uneven results or other finish problems. Drying and recoating times vary by product and environmental conditions, so use the paint can’s instructions or technical data sheet rather than a universal timetable.
Follow the tape manufacturer’s directions as well. Removing tape at an unsuitable time can damage the edge or pull away paint.
6. Ignoring Moisture and Safety Problems
Do not treat paint as a solution for leaks, persistent dampness, or mold. Correct the underlying issue and make sure the surface is suitable for repainting. Ventilate the room and follow the product label’s safety instructions throughout the job.
Take extra care in older U.S. homes. Houses built before 1978 may contain lead-based paint. Sanding or scraping a suspect surface can create hazardous dust. Consult the EPA’s lead-safe renovation guidance and use a qualified lead-safe contractor when appropriate.
7. Skipping the Final Inspection
Once the paint has reached the appropriate inspection stage, check the walls from different angles under good lighting. Look for missed spots, drips, rough patches, or inconsistent coverage. Correct defects according to the product’s instructions rather than adding paint indiscriminately.
Clean tools as directed, seal leftover paint securely, and record the color, product, and finish for future touch-ups.
How to Avoid Interior Painting Mistakes
- Inspect the walls for dirt, damage, peeling, and moisture before starting.
- Choose suitable paint, finish, primer, brushes, and roller covers.
- Protect furniture, floors, fixtures, and trim.
- Allow repairs and coats to dry according to product instructions.
- Check the completed work before moving furniture back.
When a project involves extensive surface repairs, difficult finishes, or uncertain coating conditions, professional advice may prevent avoidable rework. If your home also needs a separate exterior refresh, explore Exterior Painting options appropriate for the outside surfaces and local weather conditions.
Final Thoughts
The most common interior painting mistakes usually begin before the first coat is applied. Cleaning, repairing, choosing suitable materials, and respecting recoat times can help prevent uneven coverage and premature finish problems. Careful planning makes the work more predictable and helps protect the appearance of your home.
For help planning your next project, contact Mister Paint’s interior painting team to discuss your requirements and request an estimate.
Also Read: Benefits of Hiring Exterior Painting Companies
Blog Development Credits
This article was developed for Mister Paint through original research and AI-assisted drafting, followed by human-focused SEO refinement, editorial review, and content optimization by Mister Paint.